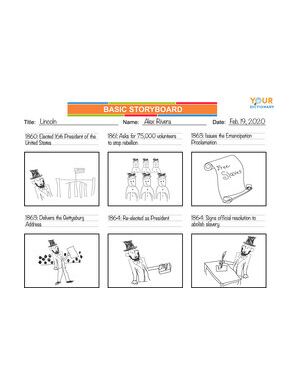

Storyboards are simple tools any student writer can use to create a story or organize information. Think of a storyboard as an illustrated outline where you can draw your ideas, write your ideas, or both. A storyboard is usually a single page with boxes that flow in a logical order. With a storyboard, you’ll be able to visualize the plot of a story or sequence of information before writing a draft or starting a project.
How to Use a Storyboard
How you use a storyboard depends on your personal style and the purpose of your storyboard. The only real rule of storyboarding is that you should end up with something that flows in a logical order.
Define Your Goal
Starting with a blank page can be really intimidating, so it’s always best to start with reminding yourself of your goal. What is the storyboard supposed to help you achieve? Will the storyboard be turned in and graded? Or is it for personal use as an organizational tool?
For example, say you’re a fourth grader who has to write an essay about the most important accomplishments of a famous leader. The goal of storyboard writing, in this context, might be to organize the structure of your essay about Abraham Lincoln.
Choose a Storyboard Design
Storyboard templates can take many forms, but simpler is usually better. You can draw your own storyboard or use a free template.
- Students in lower elementary grades can use storyboards with two to four squares and no blank lines.
- Kids in grades 2 to 4 can advance to storyboards with six or more squares and blank lines for text.
- Students in grades 5 to 8 can experiment with storyboard designs that are not linear and feature arrows guiding the flow.
- High school and college students can use storyboards that have 10 or more empty squares and add their own flow arrows.
In our example, since you’re a fourth grader writing a history essay, you would choose a storyboard that has about six empty squares with blank lines next to each square.
Use a Pencil
Storyboarding is a form of brainstorming, so using a pencil and a good eraser keeps the process flexible. You might find that you need to change the sequence as you really get into your subject. You can always add color later if you want.
Start With What You Know
Every storyboard can include the essential elements of story writing like characters, setting, and themes. Start with the information you already know and think about where this information fits in your storyboard. Is it the beginning, the middle, or the end? You can start with simple stick figure drawings or words, whichever feels most comfortable.
Continuing with our example, what do you already know about Abraham Lincoln? You may already know he was elected the President of the United States in 1860. This could be a great starting point because most of his biggest accomplishments happened during his presidency.
In the first square of your storyboard, you might draw a picture of Lincoln and the White House with the text “1860 elected 16th President of the United States.” You probably also know he was assassinated in 1865, so you could write “1865” in the last square to remind you that’s where his living achievements end.
Follow the Logical Order
Every storyboard is set up to follow a logical sequence. Typically, you read from left to right and top to bottom, so this is how storyboards are set up. Start in the top left corner and work your way to the bottom right corner. What comes first? What happened last?
Our information about Abraham Lincoln becoming President would go in the top left box in the storyboard since that is where we’re planning to start our essay. If you follow a timeline of his presidency, you’ll see his next big accomplishment was the Emancipation Proclamation in 1863. This would go in your second storyboard square.
You’d continue adding achievements like delivering the Gettysburg Address and getting re-elected as President in the following squares, because your logical order is organized by time.

Storyboard Templates
You can download and print a free storyboard template to use at home or in the classroom. These free PDF storyboard resources illustrate different approaches to storyboarding. Use the Adobe printables guide if you need help with accessing or printing the storyboard templates.
Basic Storyboard Template
The basic storyboard template includes space above each image to write in text. This format is great for tasks where the text is as important as or more important than the images.
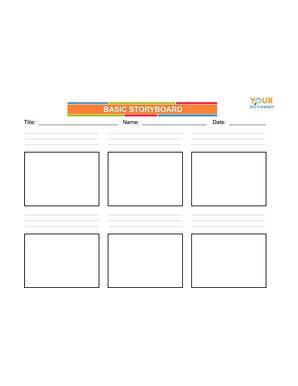
Basic storyboard template
Click to View & DownloadThought Bubble Storyboard Template
If your project is more creative, an image focused template is useful. The template has large boxes for big drawings and built-in thought bubbles to help you focus on dialogue or make something that looks more fun.
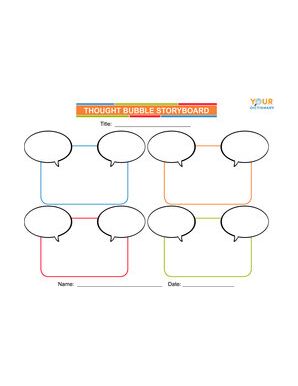
Bubble storyboard template
Click to View & DownloadCircular Storyboard Template
Children’s stories and processes like those found in science concepts are often circular, meaning they start and end with the same idea. A circular storyboard shows the interaction between different elements in a cycle.
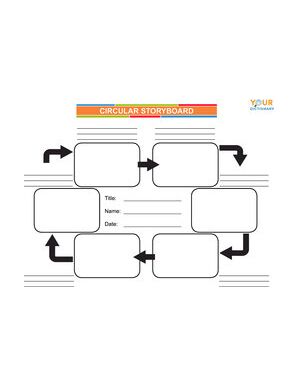
Circular storyboard template
Click to View & DownloadHow Do Storyboards Help Students?
While storyboards are mostly used for writing and reading assignments, you can use them as graphic organizers in classrooms for a variety of subjects. The individual sections help you pull out the different parts of your assignment or lesson to focus on each one separately.
Storyboards can help students:
- Discover the main points of a read-aloud story
- Summarize writings and important documents
- Put a sequence of events in the correct order
- Organize an essay
- Plot an original story or skit
- Break down the steps in a complex math problem
- Visualize difficult math or science concepts
- See the steps in an experiment or process
- Create a historical timeline
- Organize notes from class lessons
Get Started With a Storyboard
Now that you know what a storyboard is and its purpose, it’s time to start creating your own. From children’s books to organized notes or structured essays, you can get any project or assignment started with a storyboard.